Friday, October 24, 2014

IP Camera Testing and Review

axis 84 lights on-500We tested  IP cameras to see which camera worked the best in low light situations.  We did some other tests as well for resolution, and  wide dynamic range.

In this test we compared the low light performance of the Samsung SNV-6084R IP and Sony SNC-VM630 cameras. We compared them to each other and to an older Axis P3367 camera which has a reputation for good low light performance.


Camera Specifications
All the camera specifications indicated about the same low light level when in color.  The Samsung camera had the best B/W low light sensitivity specification.  The test would determine if the cameras met their specifications.
Samsung SNV-6084R Color: 0.1 Lux (F1.2, 50IRE)
B/W: 0.01 Lux (F1.2, 50IRE)
Image sensor: 1/2.8" PS Exmor 2.38M CMOS
Sony SNC-VM630 Color: 0.1 lx (F1.2, 50IRE, View-DR OFF, VE OFF, AGC ON, 1/30 s, 30 fps)
B/W: 0.07 lx (F1.2, 50IRE, View-DR OFF, VE OFF, AGC ON, 1/30 s, 30 fps)
Image sensor: 1/2.9-type progressive scan Exmor CMOS sensor
Axis P3384 Color: 0.15 lux, F1.2,
B/W: 0.03 lux, F1.2 with Lightfinder
Image sensor: Progressive scan RGB CMOS 1/3”

The low light specifications also include frame rate (shutter speed) and IRE. The frame rate relates to the shutter speed, so anytime you see a camera with frame rate of less than 1/30 the second or if the IRE is at 30 IRE instead of 50 IRE, the lux value will be much different. Take a look at our article about IP Camera Low Light Sensitivity for more details about how low light sensitivity is measured.

The Test
We compared these cameras to the 1 megapixel Axis P3384 because it has good low light performance (this is their specialty low-light camera).  Please note that a 1 megapixel camera is expected to have better low light performance than a 2 megapixel resolution camera.  In spite of this, the 2 megapixel Sony and Samsung cameras outperformed the 1 megapixel Axis camera.
Axis Camera in Test Box

We started out test at relatively low light and all the cameras provided decent images. We gradually decreased the lighting until all the cameras could not see anything.  All the cameras tested did not have an IR illuminator or had them turned off.

In the setup of each camera we made adjustments to assure that all the cameras maximized their low light sensitivity.  This included turning off WDR, turning on the light enhancers (which is called different things depending on the camera), keeping the cameras at 30 fps, and keeping amplification at 50 IRE.

We found that it was difficult to measure the actual light level (lux) because most light meters do not go below 0.1 lux, so we did comparison testing.  We took snapshots from each camera at four light levels.  The goal was to capture images at each level of darkness and to compare all the cameras at the same relative lighting level. We observed which camera displayed the clearest image with the least noise level.

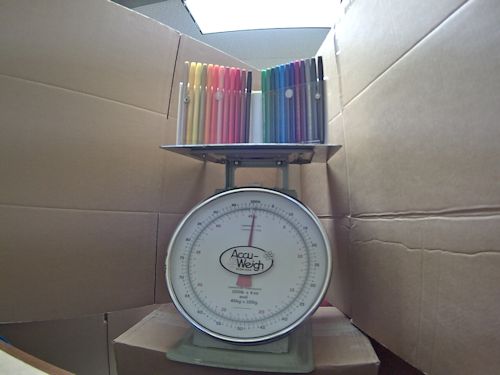
Test at approximately 0.5 lux

At this light level all of the cameras displayed little to no amplifier noise with good visibility and brightness.  For reference the light from a full moon is about 0.3 lux to 1.0 lux depending how close to the equator you are.  The moon is brighter as you get closer to the equator.

The Sony and Axis cameras had the least amount of amplifier noise and the highest brightness. Additionally it is important to note that because the Axis camera has a 1 megapixel sensor, it displayed the image in color while the 2 megapixel Samsung and Sony cameras had switched to black and white mode.  In this regard the Sony and Samsung camera did not meet their published low light specifications in color.

Sony SNC-VM630: The image is very bright and clear. We can see the details of the scale. (Note this is a 2 megapixel camera).

Axis P3384: The image is in color. We can see the colors of the pen and the details of the scale are visible. (This is a 1 megapixel camera)

Test at approximately 0.2 lux 

With the light level reduced, all three cameras displayed high quality images. The Axis camera stayed in color.  All the cameras showed detailed clarity and only a small drop-off in brightness with low noise. The Samsung and Sony compared well with the Axis camera. The Sony displayed slightly better image quality at this light level.

Sony SNC-VM630: Display is bright and clear with low noise
Samsung SNV-6084R: Noticeably darker image, but is still displaying a fairly clear image with little to no amplifier noise.

Lower Light Level (approximately 0.05 lux)

With the lighting reduced the Axis switched to B / W and showed the darkest image with noticeable amplifier noise.  The Sony displayed the brightest image with the most amplifier noise.  The Samsung displayed average brightness with the least amount of amplifier noise. Overall the Samsung displayed the image with the best combination of brightness and low amplifier noise.
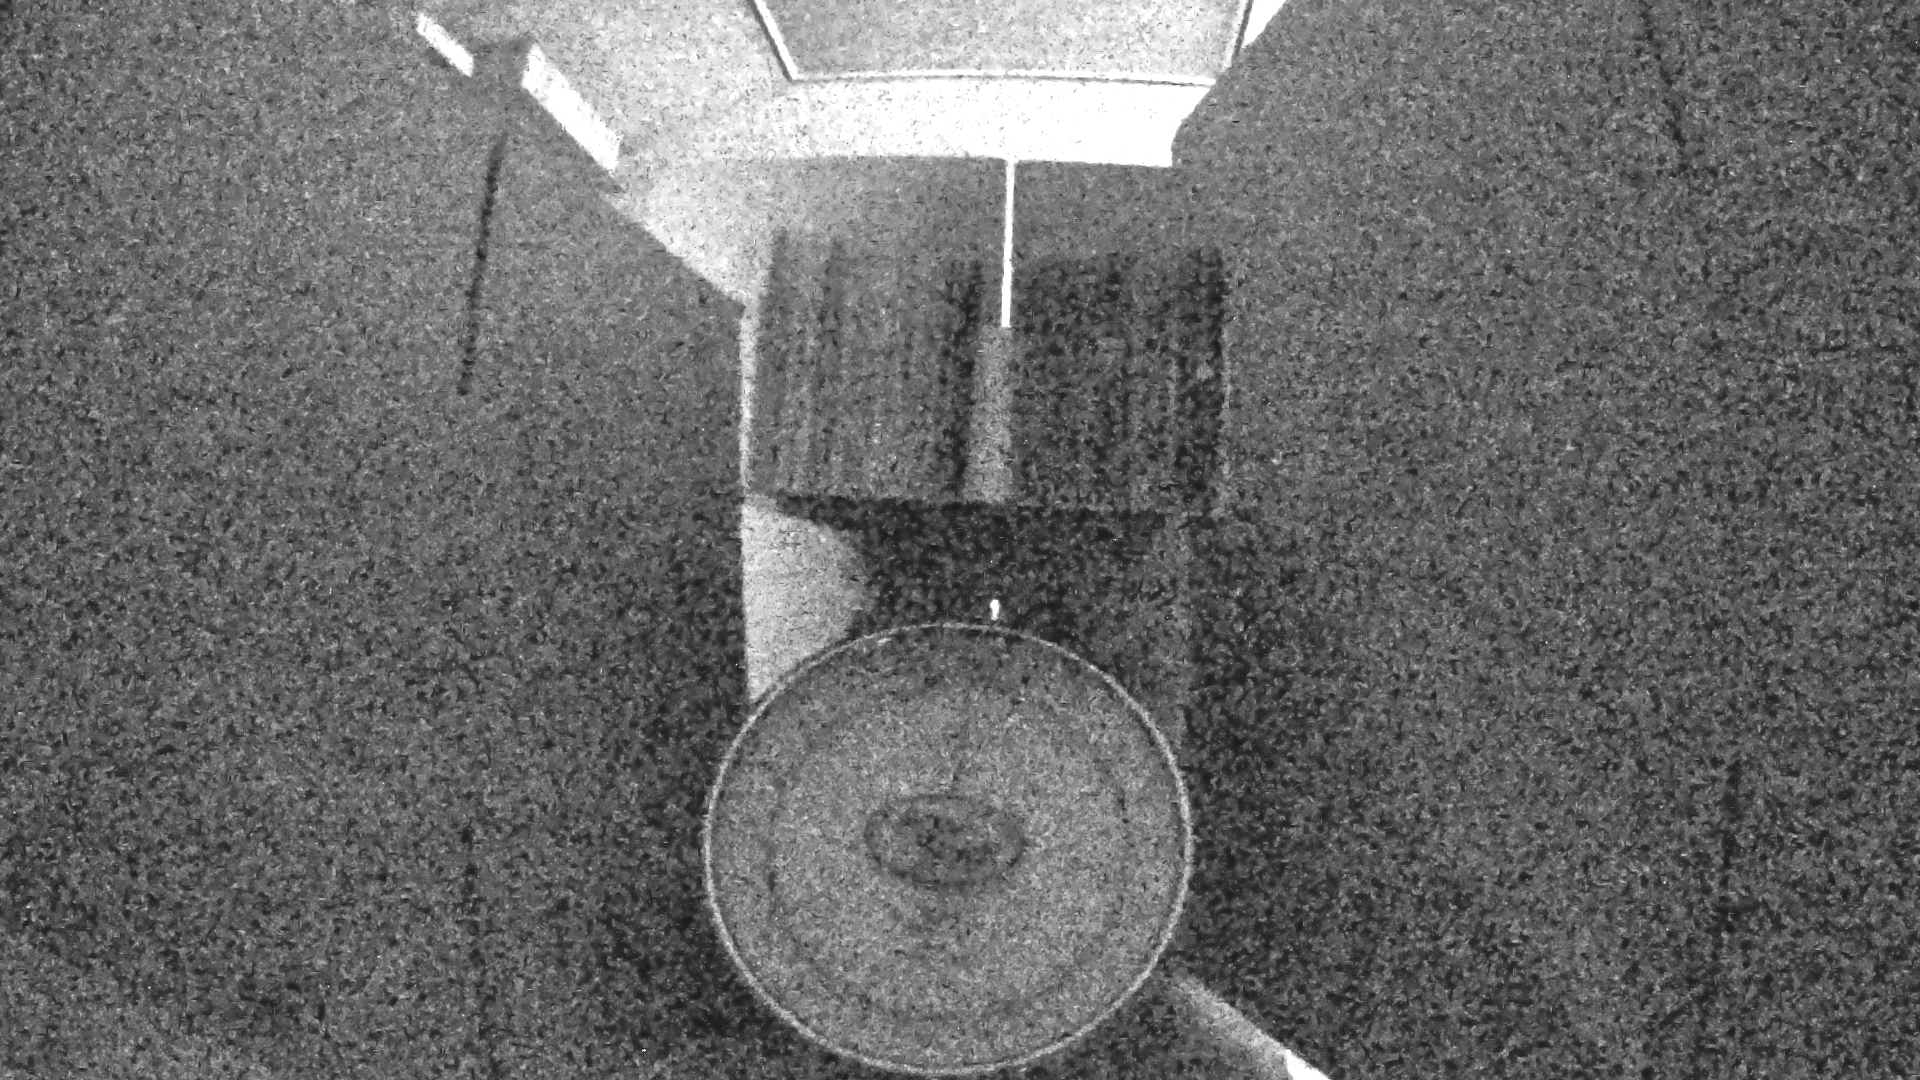
sony wdr off visability enhancer high night mode on lights off door crack open
Sony Camera at very Low Light

Axis P3367: Noise level increased and it was difficult to make out the details of the scale.
Sony SNC-VM630: Increased noise but can make out more details than the Axis camera
Samsung 6084: The image is dark, but the least amount of noise with the clearest image.

The Lowest light level (approximately 0.01 lux)
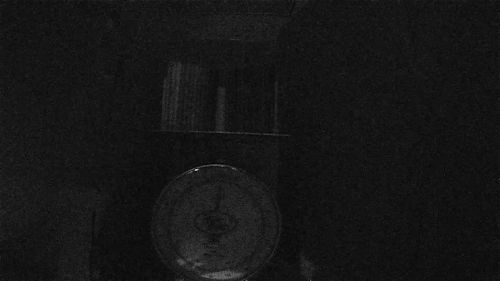
samsung ssdr on wdr door closed-500
Samsung at very low light level

This test was done at extremely low light level. It was below the light sensitivity of the Axis camera. Under these conditions the Samsung tested best.  Despite showing a dark image there was very little amplifier noise and the objects are visible. With the Samsung you can clearly see the markers and the scale. The Axis camera displayed very little and it was nearly impossible to identify our objects, the scale and the markers. The Sony showed the outline of our objects to some degree. The image is hard to see because of the lack of brightness, but the extreme level of amplifier noise is the main factor causing our inability to view the image on the Sony.

Conclusion

The Samsung 6084 won the low light sensitivity test, though the Sony was very close.  It was interesting to note that Sony provides conservative specifications for its IP cameras.  The tested performance was better than their published specifications. Even though the camera has a published specification of 0.07 lux, it was almost as good as the Samsung camera, with published specification of 0.01 lux.

All the cameras displayed good images at light levels as low as 0.5 lux.  The Axis camera stayed in color longer as the light was reduced, but didn't perform well when it switched to B / W mode.  At light levels down to about 0.05 lux, the Sony camera provided a bright image, and low noise, but at the lowest light level of about 0.01 lux, the Samsung camera displayed the lowest amplifier noise and best image.


For assistance in selecting your IP camera, please contact us for help.

Wednesday, July 3, 2013

IP Intercoms for Door Access Control


The other day I was wondering if two paper cups and string could be considered an intercom.  Even though it’s not electrical, it certainly demonstrates the concept of an intercom. 

The basic intercom consists of two sets of microphones and speakers connected by electrical wire.  It has been around for many years.  The first intercom I saw was one my father-in-law gave us many years ago.  It was sitting in my attic, and when I decided to write this article it took me a while to find it.  I dusted it off and wired it up.  It still works!   This was made by the Connecticut Telephone and Electric Company (no longer around), and it had microphones and speakers powered by 2 C-cells.  The two intercoms could be up to 2000 ft. away from each other.  Not bad for 1950’s technology.  
It’s interesting to note that many of the intercoms we use today haven’t progressed much beyond that simple model.  They use power supplies, better microphones and speakers but still rely on the same set of wires between the intercoms.  They have added some additional capabilities such as allowing a master unit to communicate with a number of slave intercoms, but other than the switching capability, it’s all the same. 

IP Intercoms

The latest IP intercoms convert the analog audio signal to a digital encoded signal and use the network to establish a communication path.  Now it is
possible for one person at a computer to talk to thousands of intercoms. The IP intercoms can be on your local network or across the Internet in a different city. 

 Network attached Intercoms use a number of different protocols and encoding to transfer the audio.  Each intercom has a unique IP address so the user can talk to any intercom or to all the intercoms at one time.  The protocol also allows various control messages to be sent back and forth.  For example a person can push the call button on the intercom and a person at a remote computer station will hear the doorbell.  They can then have a conversation.  The person at the computer station can then send another message that causes a door to unlock. 
Intercoms with IP Cameras
A special intercom attached to an IP camera provides a very effective door access control system.

This intercom camera system allows you to see and talk to the person at the door.  The IP camera must support two-way audio and have IO connections that allow the call button and the door release to be connected.  This allows you to control entry at a door. 

Video intercoms or InterCAMS are the next generation of intercoms for access control.  The
interCAM has a built in camera so you can see the person at the door while you talk to them.  The camera is placed at the right position so you can see the person’s face and surrounding area.  It’s amazing that viewing a person can help us make a better decision of who to allow into the facility.
To make this all work correctly you need software running on your computer.  The simplest software is just the web browser.  It allows you to view a person at a door, talk to them and release the electric lock.  The only problem is that you are not alerted when the person pushes the call button.  It also doesn’t work well if you have more than one door.  It is much better to use special Video Management Software (VMS). 

Using Video Management Software
We looked at a number of Video Management Software products before selecting Ocularis from OnSSi.   This VMS from OnSSi has a very nice alarm feature that makes it easy to handle all types of alarm conditions including someone pushing the door bell (call button).   The software also handles multiple doors because it pops the video into a window on your computer which shows the person at the door. The only requirement is a microphone and speaker at the computer.    

Getting the System to Actually Work
This all may sound easy, but there’s a lot more to this system than meets the eye.  We learned this the hard way when we installed our first systems.  Some cameras that claim to have two-way audio don’t actually work correctly with the VMS software.  Two way audio can be set up to work in full duplex or half duplex mode; which means that the sound can go in both directions at the same time (full), or one way at a time (half).  If this isn’t set up correctly you can get feedback (sound screeching) at one side of the connection.  It is also important to make sure the right diodes and relays are used to open the electric locks.  Now we have hundreds of installations working, but it did take some work to get it right.

Intercoms have come a long way and until recently have worked the same way as the original units.  Just like our security cameras and IP door access, the intercom has joined the technology that makes use of the network.  It is dramatically easier to install and makes our world much safer. 

If you need any help deciding on the best intercom for you, please contact us at 914-944-3425 or use our contact form. 

Tuesday, June 18, 2013

How to Select the Lens for Your Megapixel IP Camera


Lenses for Megapixel IP Cameras
What lens should I use for my IP Camera?  Determining the right lens can be complicated and assuring that you get the right one requires some care.  This is a very important part of your IP camera system.  If you get a megapixel IP camera but don’t get the right lens you are wasting your money. 

Many IP cameras come with lenses.  For example the Axis P1354 comes with a 3 mm to 8 mm lens (100° - 34° horizontal field of view).   How do you determine if this will actually work in a specific application?  First make sure you know what the angle or mm of the lens should be.  The higher the mm numbers the lower the angle and the more magnification you will get.  It’s best to use the lens angle that is provided by the manufacturer instead of the mm of the lens since the angle can vary based on the size of the sensor.  

Lens Angle 
By measuring the field of view and how far away the camera will be from the area you want to view, you can calculate the angle of the lens.  To calculate the angle of the lens required you need to use trigonometry.  Don’t get upset, I slept through this class in high school as well.  I do remember my teacher saying, “You’re going to need this someday”, and me thinking, “Yeah, right”.  There are some calculators on line that can make this job easier.  Here is a review of the basics.   

 First we want to use the horizontal field of view rather than the vertical field of view, so let’s image we are looking down on the camera.  We split the triangle in half to get a right triangle.    

Then we can use the tangent function to calculate all the dimensions and angles.

The tangent (angle) = Opposite / Adjacent
In this case the dimensions we use are ½ the field of view (FOV) and ½ the angle, so the equation is:
The tangent (½ angle of the camera lens) = ½ the FOV / Distance from camera to FOV

Now we can calculate everything we need.  For example if the distance to the field of view is 100 ft. and the FOV is 50 ft. Here’s how we get the lens angle:

½ Tan(lens°) = ½ 50 / 100.
 Tan(lens°) = 2 x(½ 50 / 100)
Now I go to my on line calculator at http://www.pagetutor.com/trigcalc/trig.html and enter 25 where it says “Side A”, and then 100 into the “side B”, I get 14.04°. 
Then 2 x 14.04° = 28.08°.  

And of course, if you know the lens angle and want to calculate the FOV based on a certain distance, you can do this as well using the same equation and calculator.  

OK, your head hurts.  I understand.  Just take two aspirin and call us and we’ll do all the calculations. 

Other Specifications

Once you know the type of lens required you also need to review all the other lens characteristics for a specific application.  We reviewed all the lens specifications in our technical article Megapixel Lens for Megapixel IP Cameras, but here is a summary.  

Lens Format or Size: the lens size should be larger than the sensor of the camera.
Lens Mount:  There are 2 types of mounting formats used in IP cameras, C and CS type.  Make sure the lens you select matches the camera mount.
Iris:  There are manual adjustable irises, auto-iris and the latest p-iris.  If the lens is used indoors, you usually can use a manual iris camera, but outdoors you need an auto-iris lens.  If there are challenging lighting conditions then the p-iris is a good choice. 

 If you are using a megapixel IP camera then you must consider some additional specifications such as lens resolution, depth of field, iris control, and distortion, aperture and IR light capability. These are all very critical to assuring that you get the video that you expect.  If you get an inexpensive lens you certainly won’t be happy with the video.  

Yes, this is all complicated so please contact us for assistance.  We will review your objectives and make sure that your complete IP camera system performs exactly as you expect.  Please call us at 914-944-3425 or just use our contact form.